
Supplies:
12 x 12 sheet of patterned paper
trimmer with scoring blade or stylus
scissors
double stick tape
embellishments, photos, punches, etc.
1. Using the ruler on your trimmer, measure in 2 3/4 of an inch from the left hand side of your paper and make a cut stopping 3 1/4" from the bottom.


5. Hold your paper to form an "L" shape and trim 1/2" off of the right hand side.


Cardstock; Pattern Paper (Compliments, Reply, and Sincerely from the Letterbox collection; Opal and Blanche from the Botanique collection); Flair (Postcard); Printed Chipboard Shapes (Letterhouse); Paper Flowers (Dear Lizzy Springhouse); Dimensional Stickers (Giddy); Brads (mini jewel brads and pearl brads).


Supplies from American Crafts...
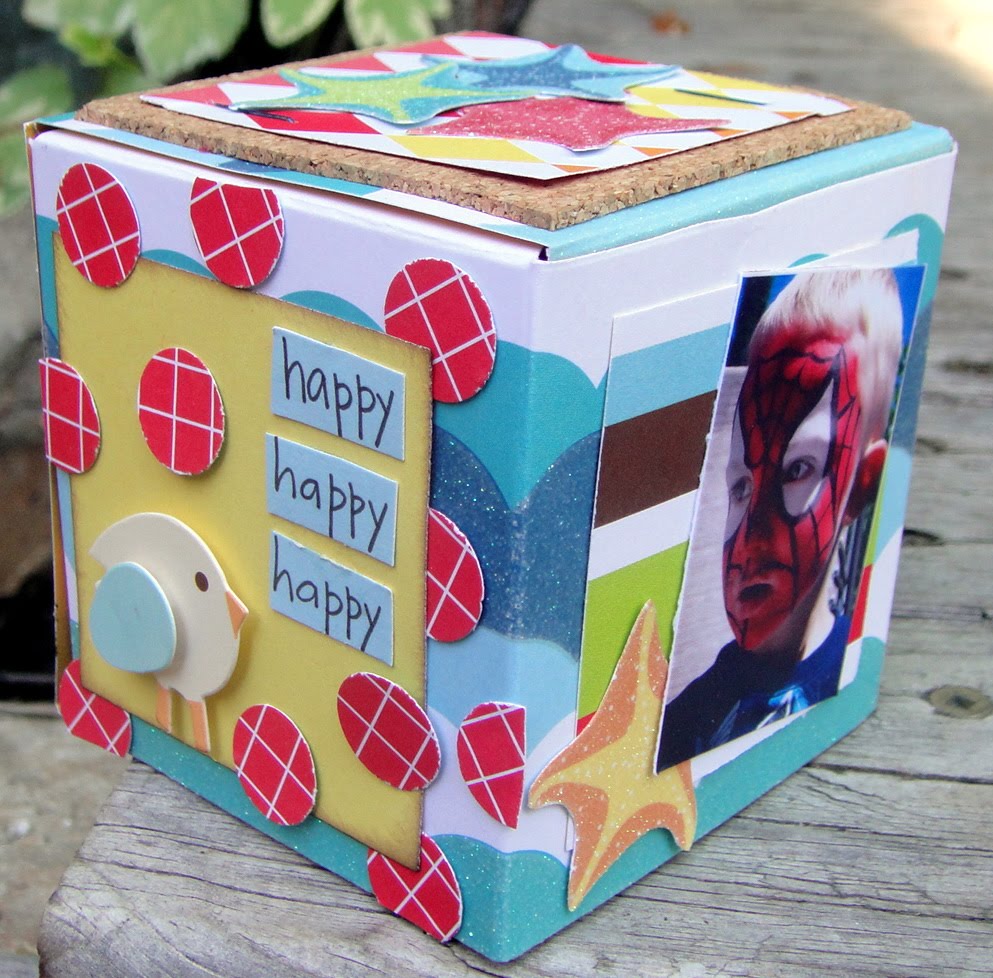
Pattern Paper (Roosevelt Way from the Abode collection and Radical Raspberry, Maverick Mango, Citrus Chill from the Heat Wave Collection); Dimensional Stickers (Giddy); Brads (Dear Lizzy - medium glitter brads). Other (cork).
Have a wonderful day!

1 comment:
Lovely...I´ll feature on my blog so you can leave the credit.
Hugs from Brazil
Post a Comment