I made this layout for a challenge over at the Sassafras Lass blog!
Enjoy your moments,
Saturday, April 23, 2011
Wednesday, April 20, 2011
Happy Wishes!
The fun spring colours of the American Crafts Campy Trails line make a wonderful birthday card!
The Elle's Studio Birthday Pennants make a perfect addition to your cards...
Have a happy day,
The Elle's Studio Birthday Pennants make a perfect addition to your cards...
Have a happy day,
Sunday, April 17, 2011
Wonderful Memory!
Wednesday, April 13, 2011
Treasure Card How To
I had the pleasure of crafting with the American Crafts Campy Trails collection from Let's Capture Our Memories.
Here is a quick "how to" on my treasure card...
For card base trim pattern paper to measure 4 X 5 1/2. Cut out three circles.
Cut a piece of pattern paper to measure 4 X 2. Sand edges (the paper I used was embossed). The sanding tool I used is made by We R Memory Keepers and it is fabulous! One of the best things is the little handle to hold onto :)
Now this is my favorite part of the sander...this little edge distresser...it's two tools in one and plus it is pink :)
Distress the edges of circles and add to the front of card with foam squares.
Using American Craft Thickers (Campy Trails Vanilla) add sentiment to front of distresed 2 x 4 pattern paper. Add this to the front of card.
To complete my card I added a little banner border from the Campy Trails collection.
Have a great day!

Sunday, April 10, 2011
Feeling Springish Card
Monday, April 4, 2011
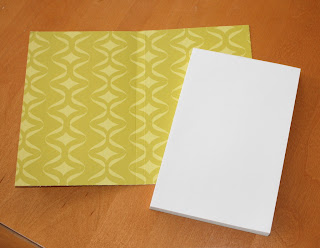
Covered NotePad Tutorial
These covered notepads make a perfect little gift! They are very quick and fun to make :)
The Supplies:
notepad (mine is 3 7/8 X 6)
pattern paper
embellishments
paper trimmer
adhesive
The Instructions:
1. Trim pattern paper to measure 6 X 8 1/4.
2. Score at 4 and 4 1/4.
Embellish as desired!
Have a great day,

Subscribe to:
Comments (Atom)


